Creating videos has never been easier with Google Vids. This powerful tool allows you to harness your creativity and produce engaging content right from your computer. In this guide, we will explore how to access Google Vids, navigate its features, and unleash your creative potential. Whether you’re a beginner or looking to refine your skills, this blog will provide you with all the information you need to get started.
Getting Started with Google Vids
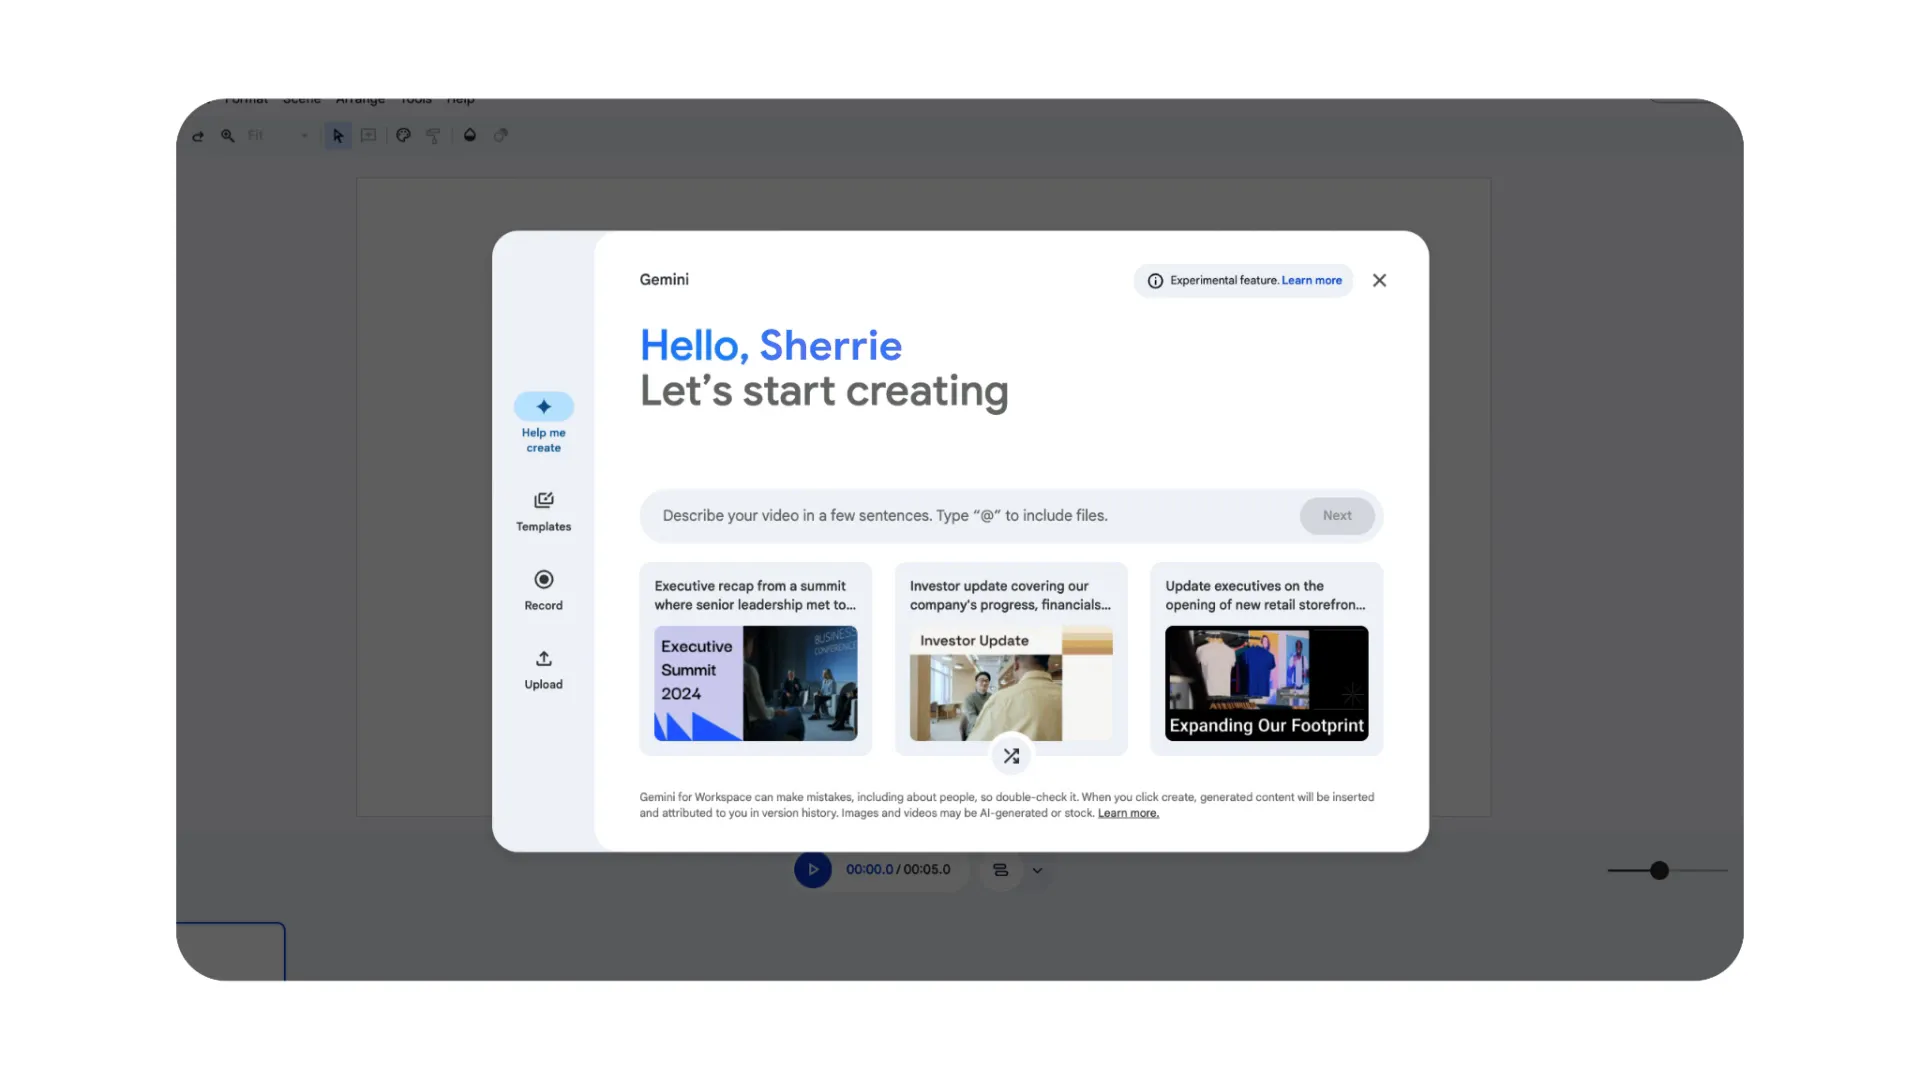
To kick things off, it’s crucial to understand how to create a new Google Vid. Currently, Vids is only accessible via computer, as viewing on mobile devices is not supported. The simplest way to start a new project is to type vids.new directly into your browser’s address bar. This method also grants you access to the Help Me Create feature, which utilizes Gemini’s power to generate a first draft for your video.
If you prefer a more traditional route, you can find Vids within your Google Drive. Just click on + New and select Google Vids. Alternatively, you can open Vids from the app launcher in Google Drive. Click on Google Apps and scroll to find Vids. If you’re looking to see only your Vids files without the clutter of other Drive files, visit vids.google.com.
Exploring the Google Vids Interface
Once you’ve created a new video, it’s time to familiarize yourself with the Vids editor. Upon accessing the home screen via vids.new, you’ll encounter a quick access menu. This menu provides options to create a new video with AI, utilize templates, record directly in the Vids recording studio, or upload your own media. For now, you can simply click Close to exit this dialog and dive deeper into the editor.
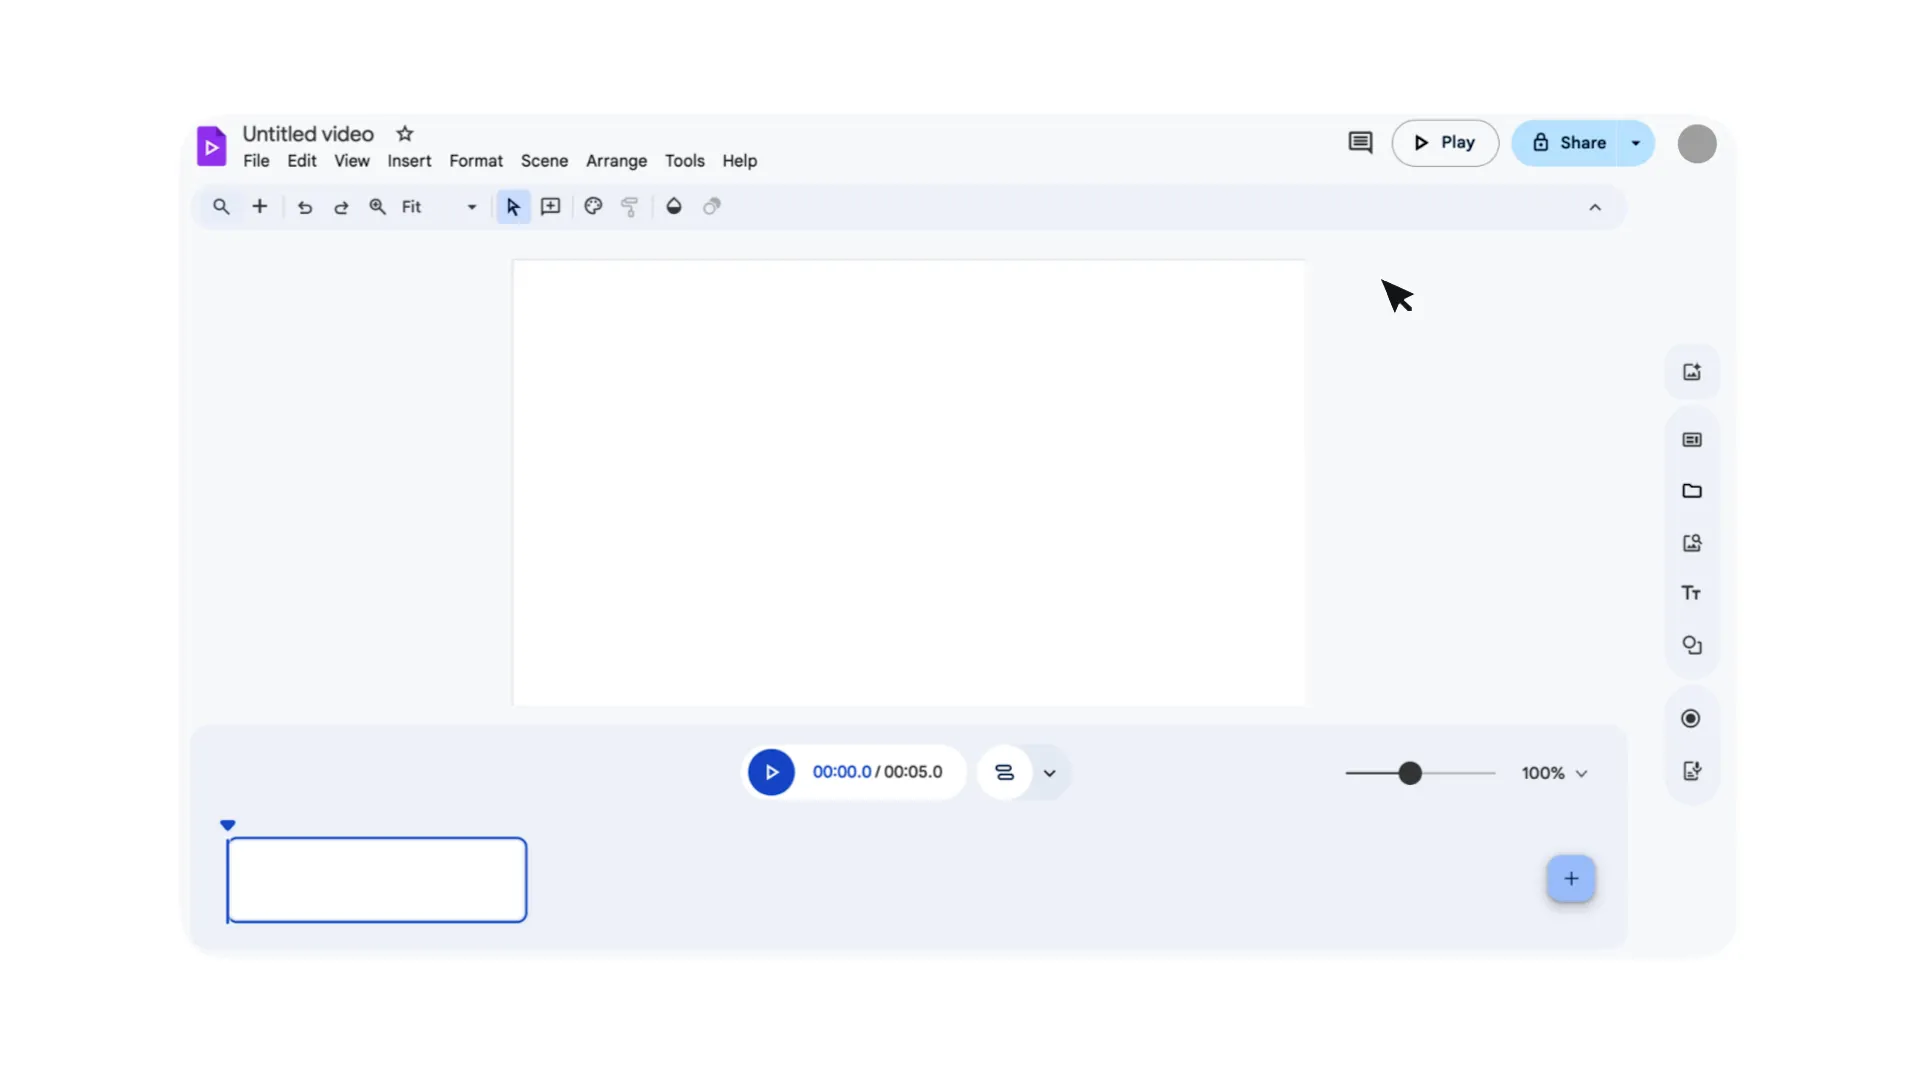
The editor is divided into several sections for ease of use. At the top, you’ll find the main menu with familiar options like File, Edit, and View. Below that is the toolbar, where you can access various editing and enhancement tools. The right rail is dedicated to customizing and adding content to your scenes, such as text, media, recordings, scripts, and more.
Understanding the Timeline
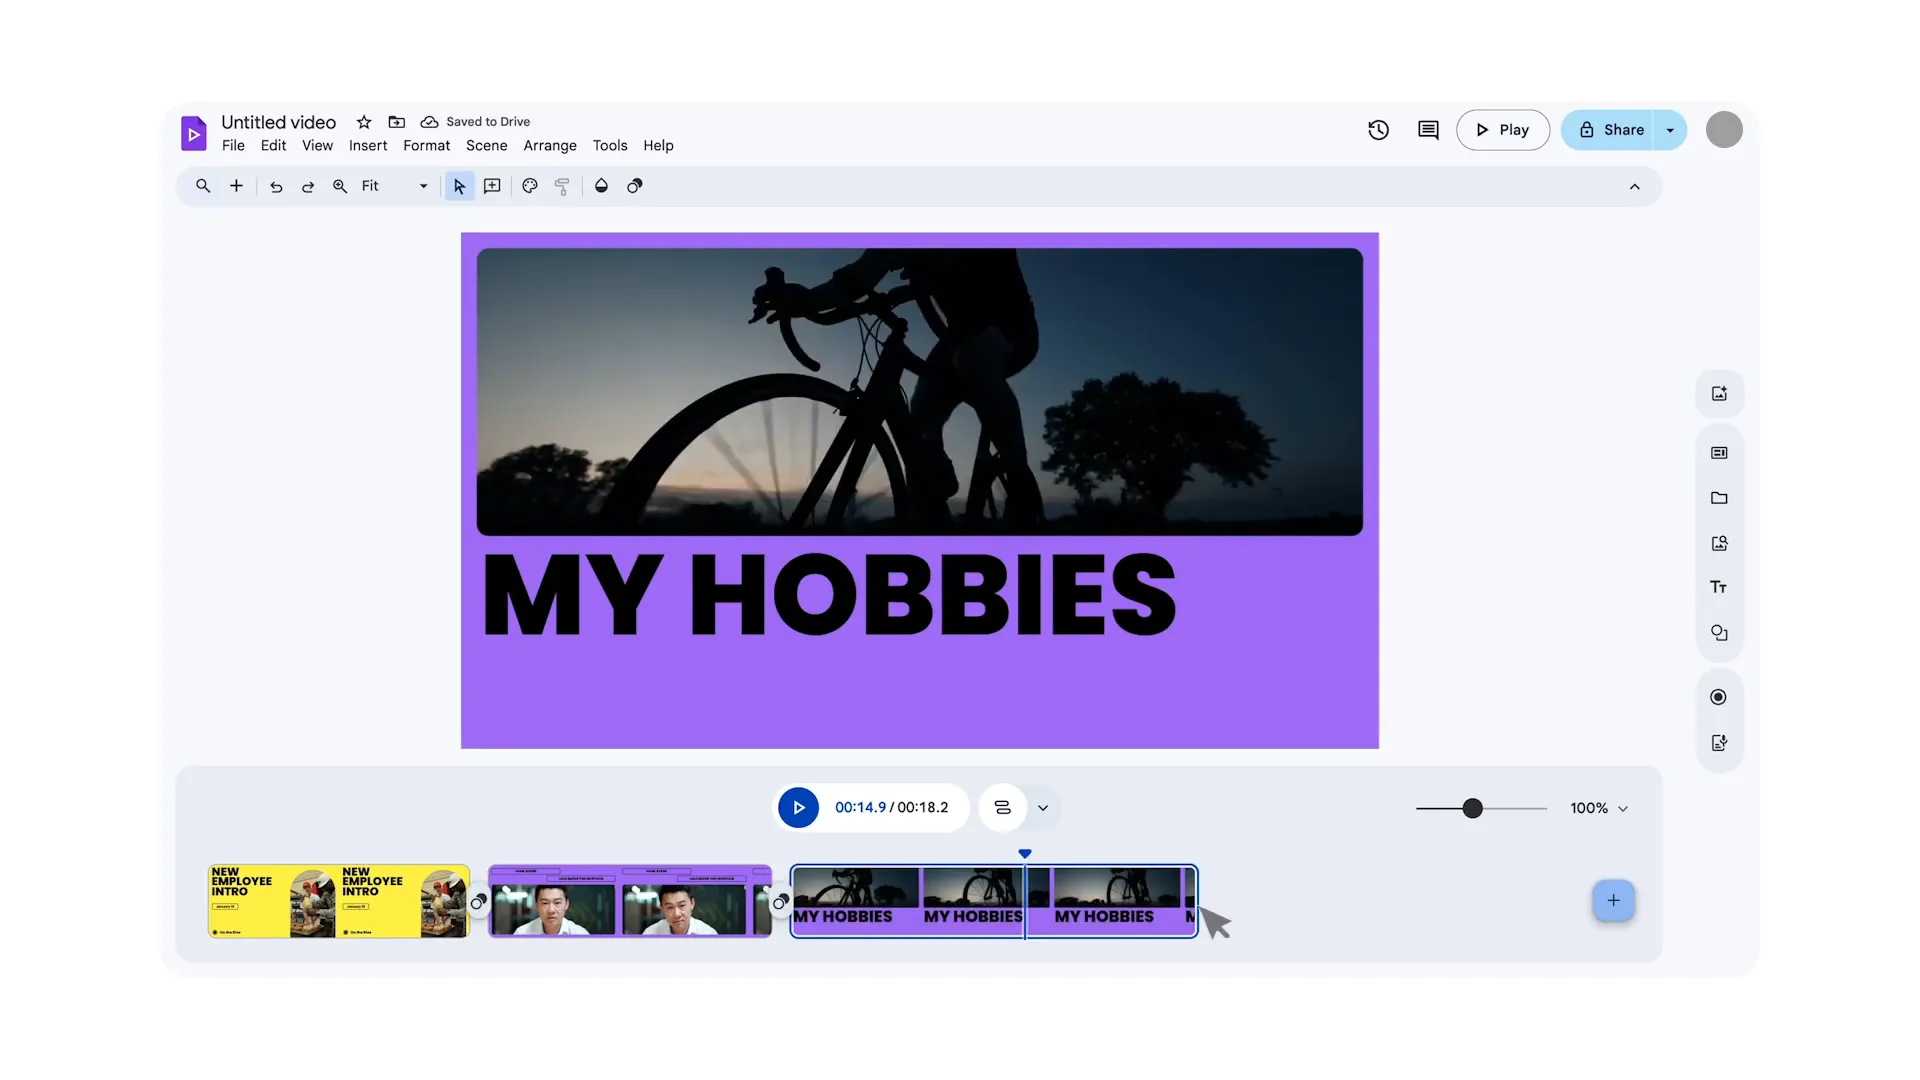
At the bottom of the editor, you’ll find the timeline, which is essential for arranging and editing your video scenes. Each rectangle in the timeline represents a scene, much like a slide in a presentation. You can easily reorder scenes by dragging them to a new position, allowing for a seamless flow in your video. Additionally, adjusting the duration of a scene is as simple as dragging its edge, giving you the flexibility to shorten or lengthen scenes as needed.
The blue line moving across the timeline is known as the playhead. This line indicates your current position in the video during playback or editing, helping you keep track of your progress.
Creating Your First Video
Now that you’re familiar with the interface, it’s time to create your first video. Begin by clicking the plus icon to start a new Vids project. You can choose to create a video from scratch, use one of the templates provided, or record directly within the Vids recording studio. If you have media you want to include, you can upload it effortlessly.
As you start crafting your video, remember that the options available will help you express your ideas more creatively. Whether you opt for AI-generated content, templates, or your recordings, the tools are designed to facilitate your creative process.
Tips for Enhancing Your Video
To make your video more engaging, consider the following tips:
- Utilize Text and Media: Add text overlays to emphasize key points and use media to enrich your content.
- Record Quality Audio: Ensure that your audio is clear and professional. Consider using an external microphone for better sound quality.
- Incorporate Music: Background music can set the mood for your video. Choose tracks that complement your content.
- Edit Thoughtfully: Use the editing tools to cut unnecessary segments and refine your video flow.

Finalizing and Sharing Your Video
Once your video is complete, it’s time to finalize it. Review your project to ensure everything is in order. Check for any last-minute edits or adjustments that may enhance the overall quality. When you’re satisfied with the outcome, you can easily share your video directly from Google Vids.
Sharing your video can be done via a unique link or by exporting it to various platforms. This flexibility allows you to reach your audience through multiple channels, maximizing your video’s impact.
Frequently Asked Questions
What is Google Vids?
Google Vids is a video creation tool that allows users to produce and edit videos using a variety of features, including AI assistance, templates, and direct recording capabilities.
Can I use Google Vids on mobile devices?
Currently, Google Vids is only available for viewing on mobile devices, but you must use a computer to create and edit videos.
How do I access Google Vids?
You can access Google Vids by typing vids.new in your browser or by finding it in your Google Drive under + New.
Are there templates available for video creation?
Yes, Google Vids offers various templates to help you get started with your video projects.
Can I record directly in Google Vids?
Absolutely! Google Vids includes a recording studio feature that allows you to record video content directly within the platform.
Conclusion
Google Vids is a powerful tool that opens up a world of creative possibilities for video production. By understanding how to access and utilize its features, you can create engaging and professional videos with ease. Whether you’re a seasoned creator or just starting out, embracing the capabilities of Google Vids will surely enhance your video-making journey. So, get ready to unleash your creativity and make some amazing videos!
Get Gemini for Google Workspace